Convert a p12 Certificate to a crt and key Certificate on macOS
Convert a p12 Certificate to a crt and key Certificate
If you want to know how to create an SSL or TLS certificate on macOS then please read this article: Create a TLS Certificate on macOS.
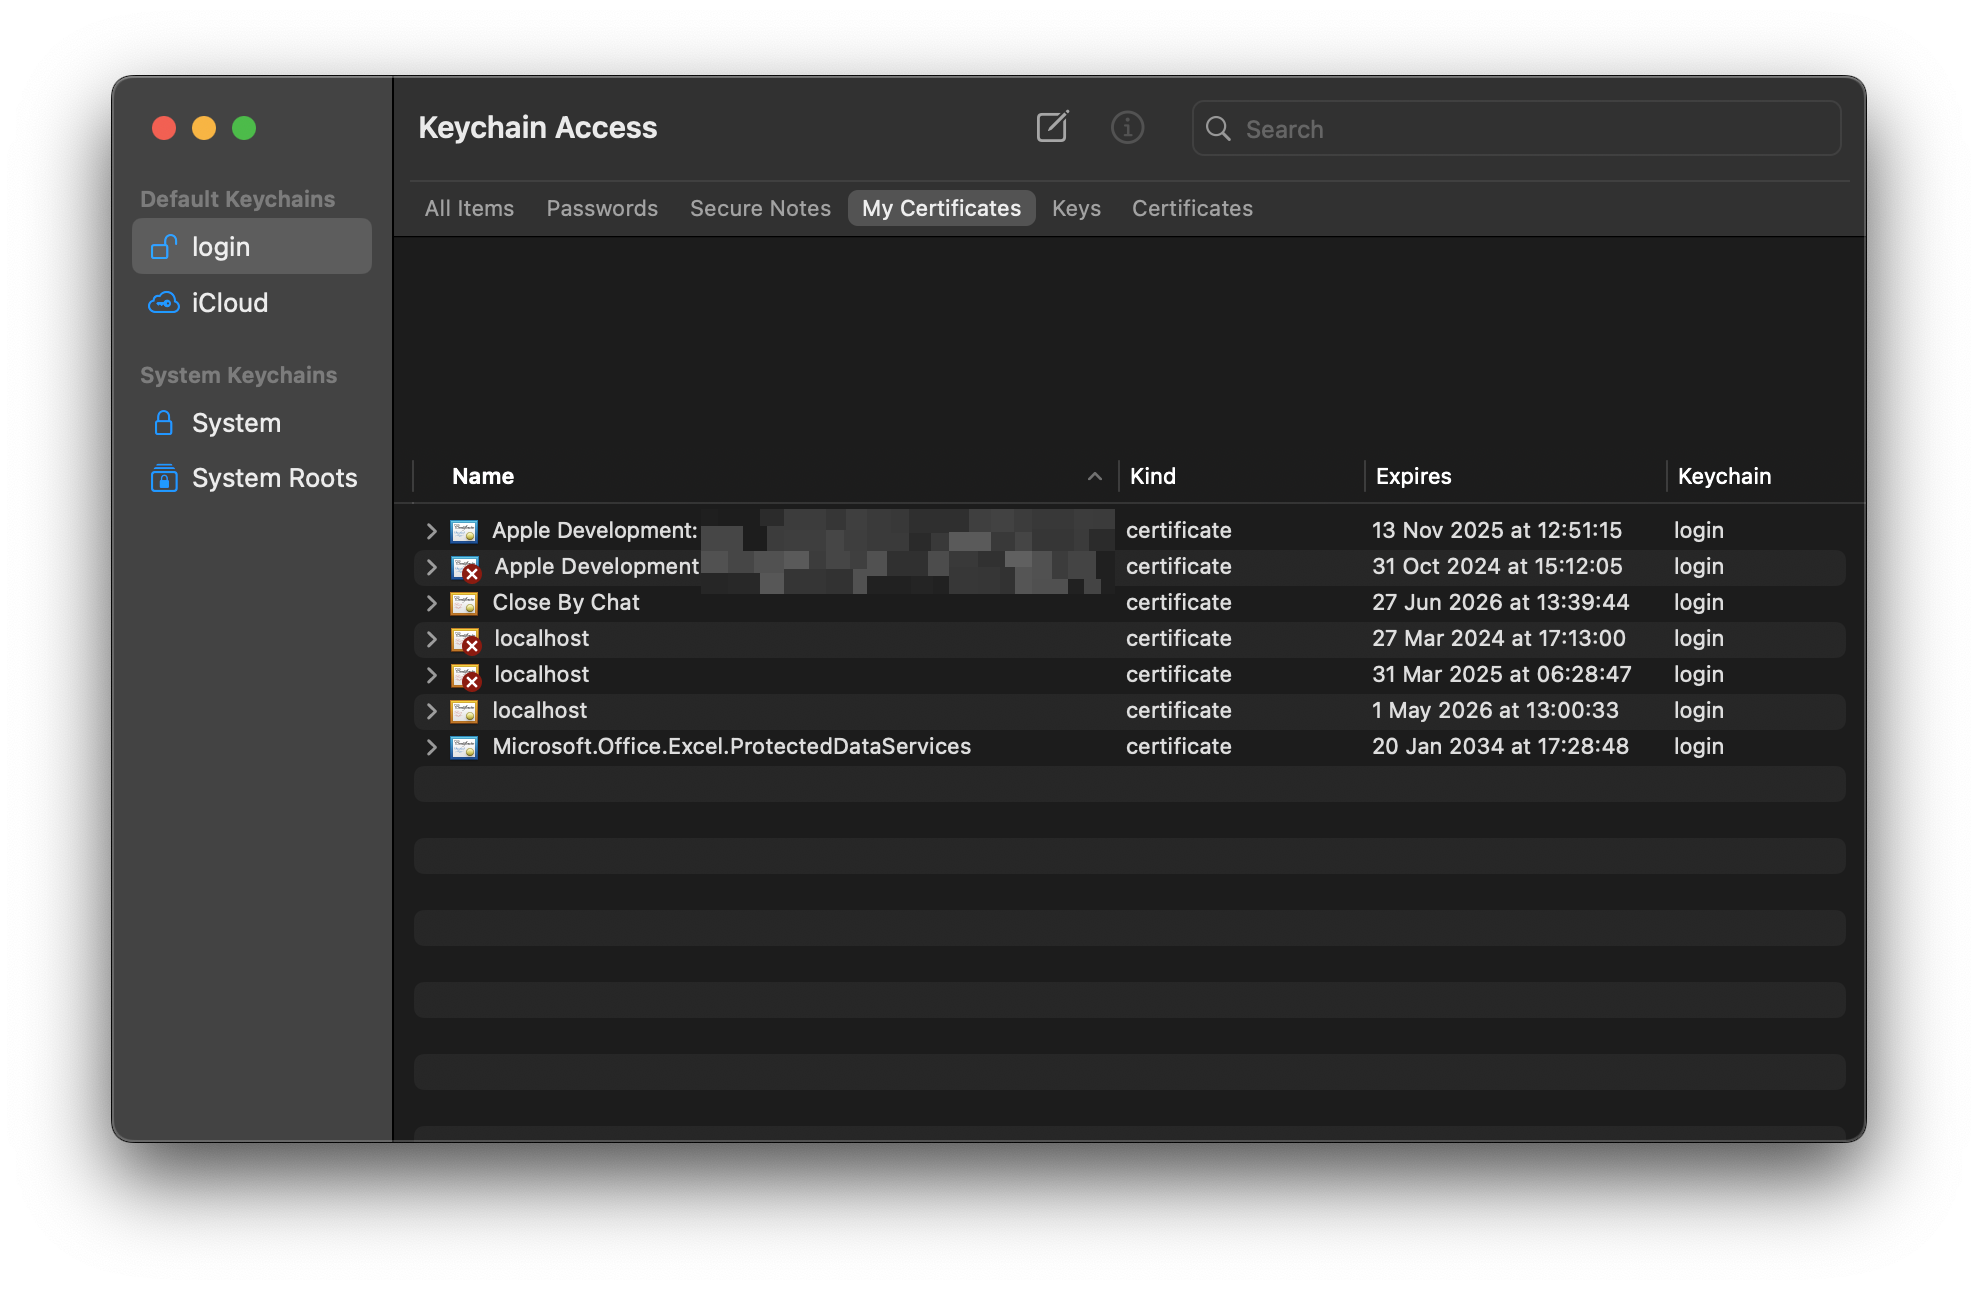
To see a list of your certificates open Keychain Access and you should see something like this:
Now you need to export your certificate. You can do this by right clicking on your certificate and choosing the "Export" option. This will open up a save dialogue which will let you choose where to save the .p12 certificate.
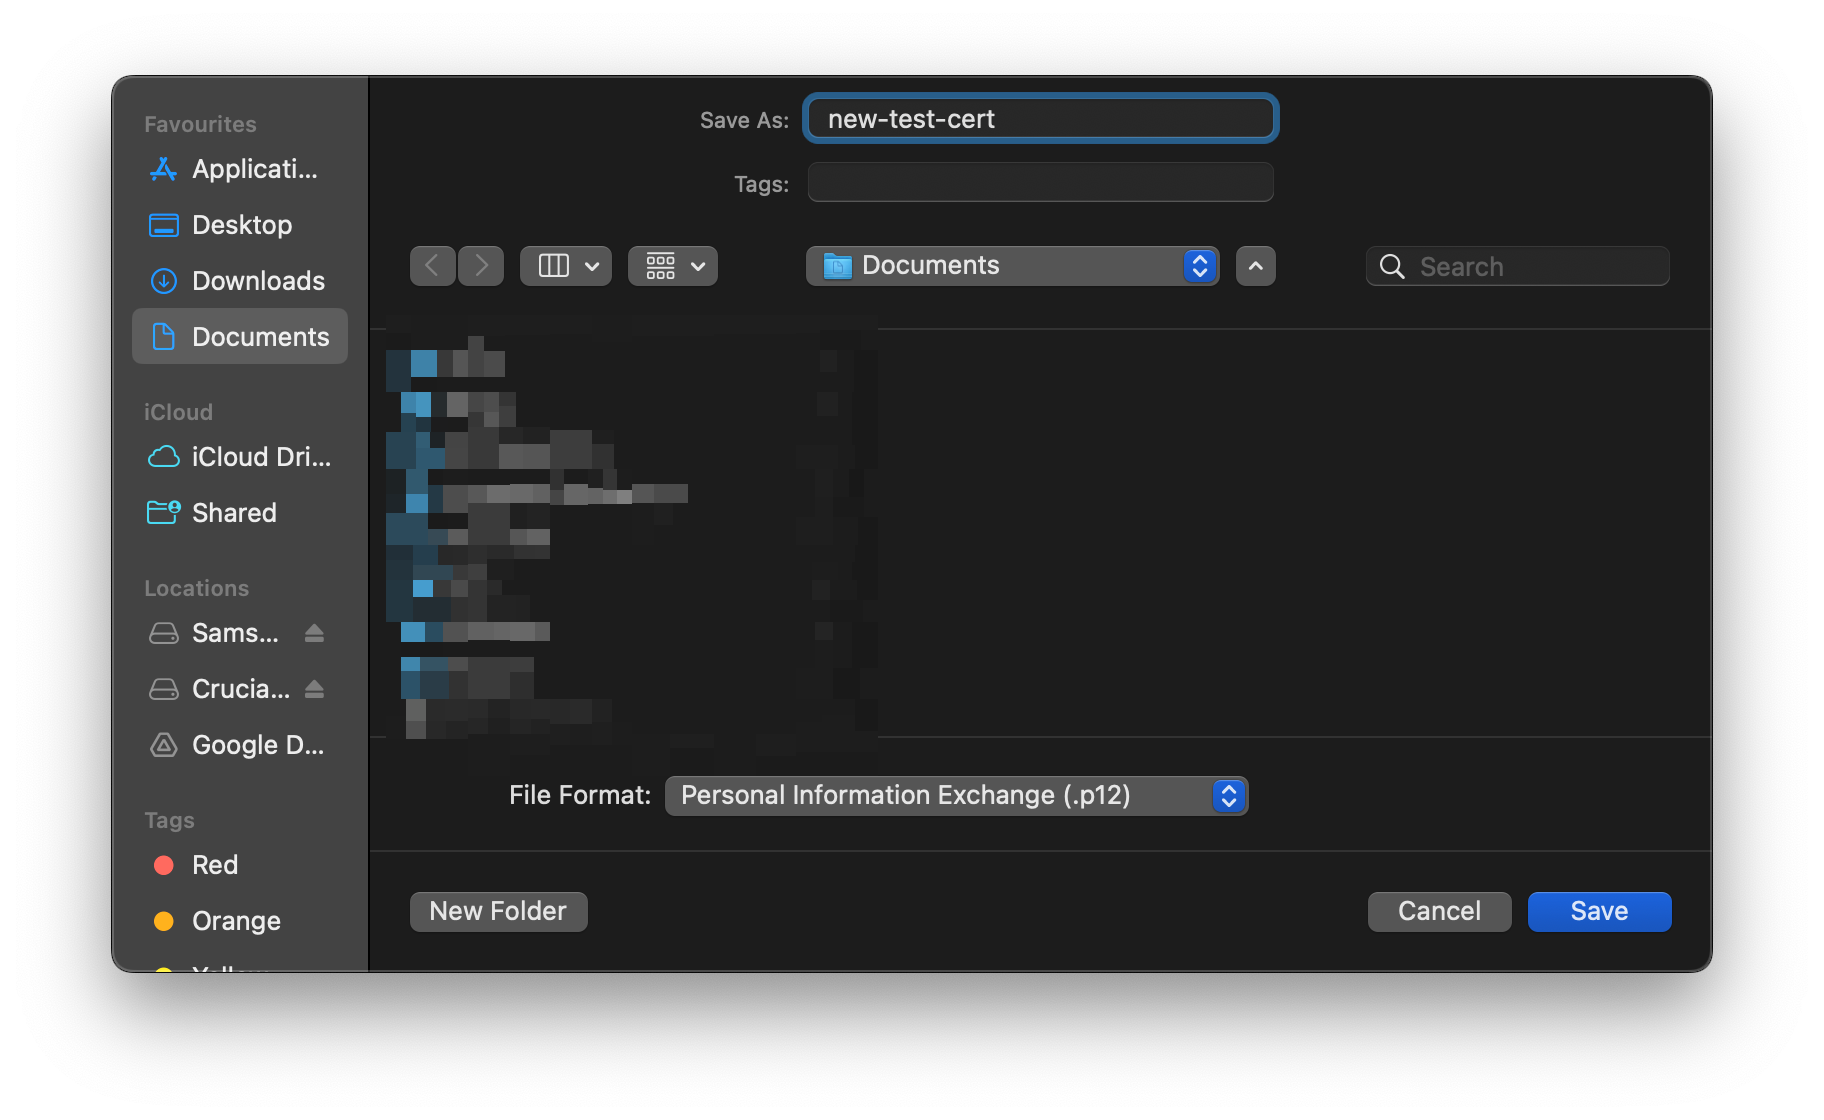
After that you'll see a screen to set a password. This means that if you want to use the certifcate for any reason you'll need to use a password. For our needs we do not need a password so we can just leave all the text fields blank and click "OK". Then it will ask for your keychain password. If the keychain the certificate is saved in is the "login" keychain then you just enter your user password if not then you enter the password for your keychain when you created it.
Once you have exported the certificate we now need to open up the terminal and change directory to the folder where you saved the .p12 certificate. For instance if you saved it into the Documents folder you would do:
cd ~/Documents
Now we just run the following commands:
openssl pkcs12 -in your_file.p12 -nocerts -nodes -out cert.key
openssl pkcs12 -in your_file.p12 -clcerts -nokeys -out cert.crt
Change the "your_file.p12" to whatever you saved it as when you exported it from Keychain Access and you should now have a .crt and .key file to use with your other applications.
If you get a prompt that says "Enter Import Password" you can just leave it blank and it'll export the certificate as requested.
You now have your three certificate files which you can use with a multitude of software and programming languages. Make sure to keep the files safe and secure.